I made these rolls to go with dinner last night. They are very soft and squishy, and are the kind of rolls that go well with just about anything. While eating them, I also thought they would be great to use as buns for sliders and other types of mini sandwiches (remind me to try that sometime).
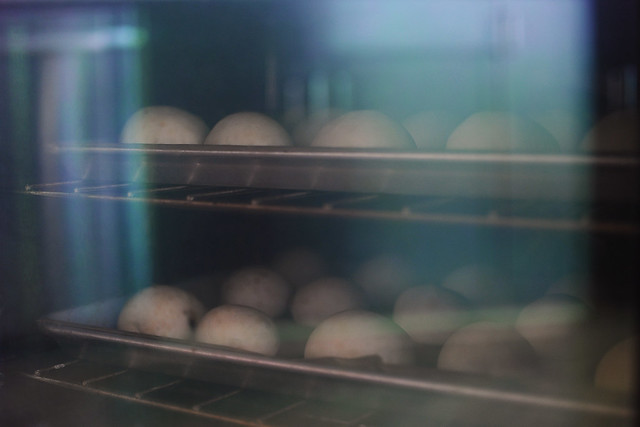
They look so great baking in the oven, lined up in rows, browning, waiting to be rotated.

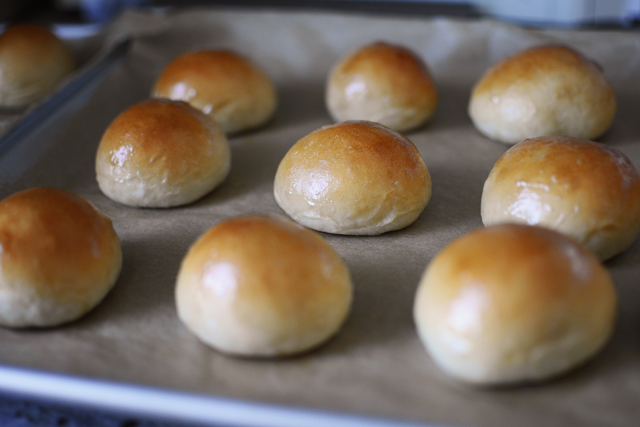
They come out of the oven looking like this and you can start eating them at this point, but I like to do one last step and brush them with some melted butter. This keeps the crust nice and soft and gives the buns a nice buttery sheen. Also, eating them warm is a must for me, but then again I feel that way about most homemade breads.
Hope everyone is having a good week so far! It’s been a good baking week for me already. I have leftover rolls hanging out in the freezer, a chocolate cream pie in the fridge (my husband’s favorite), and am about to try out my new mini Bundt cake pan tonight. Wish me luck!
Classic Soft Dinner Rolls
Adapted from The King Arthur Flour Baker’s Companion
3 cups all-purpose flour
1/4 cup potato flour
1/4 cup nonfat dry milk
3 tablespoons sugar
2 teaspoons instant yeast
1 1/4 teaspoons fine grain sea salt
4 tablespoons unsalted butter, room temperature and cut into a few pieces
1 1/8 cups lukewarm water
Melted butter for brushing (optional)
In a bowl of a stand mixer fitted with the paddle attachment, mix the dry ingredients together (all-purpose flour, potato flour, dry milk, sugar, yeast, and salt) until thoroughly mixed. Add the butter and lukewarm water and mix with the paddle attachment just until the dry ingredients have absorbed the wet ingredients (you just want to combine everything, not knead it).
Change the mixer’s attachment to the dough hook and knead the dough for about 10 minutes on low speed, until the dough is soft and smooth, making sure to scrape down the bowl and hook halfway through kneading. If the dough’s consistency is too dry or sticky while kneading, add water or flour as needed, but keep in mind that the more flour you add the drier and heavier your bread will turn out. Cover the bowl with plastic wrap and place the bowl in a warm place to rise for about 1 hour, until the dough is puffy, but not necessarily doubled in size.
After the first rise, divide the dough into 32 equal pieces. I find that the easiest way to divide the dough is to roll the dough into a log, cut the log in half and then each half in half, and so on. I didn’t do this, but if you want to be really precise you can weigh each piece of dough with a food scale to make sure that they are all even.
Roll each piece of dough into a ball and place them on greased or parchment paper lined baking sheets. Cover the baking sheets with greased plastic wrap and let them rise until puffy and almost doubled in size, about 1 hour to 1 hour and 30 minutes. Heat the oven to 350 degrees while the bread proofs.
Bake for 15 to 18 minutes, rotating the baking sheets halfway through, until the rolls are golden brown on top and have an internal temperature of 190 degrees. After the rolls have cooled for a few minutes, brush them with melted butter to give them a soft crust (optional, but I recommend it).
Makes 32 small rolls.



{ 6 comments… read them below or add one }
I think it’s really impressive that you were able to make your own dinner rolls! I’ve never made any bread at home before :) Too scared that they wont turn out right hehe ~
Hi Daisy! I felt the same way that you do about making bread a year ago. Using yeast made me nervous in the beginning, but now I love making my own bread and do it all the time. All it takes is a little practice. Hope you try it someday!
Dropping in from foodbuzz…These look awesome! Your photos are really beautiful, Great Site!
Thanks George!
LOVE this! your pictures are amazing! makes me hungry!
Wow – pure perfection!